 |
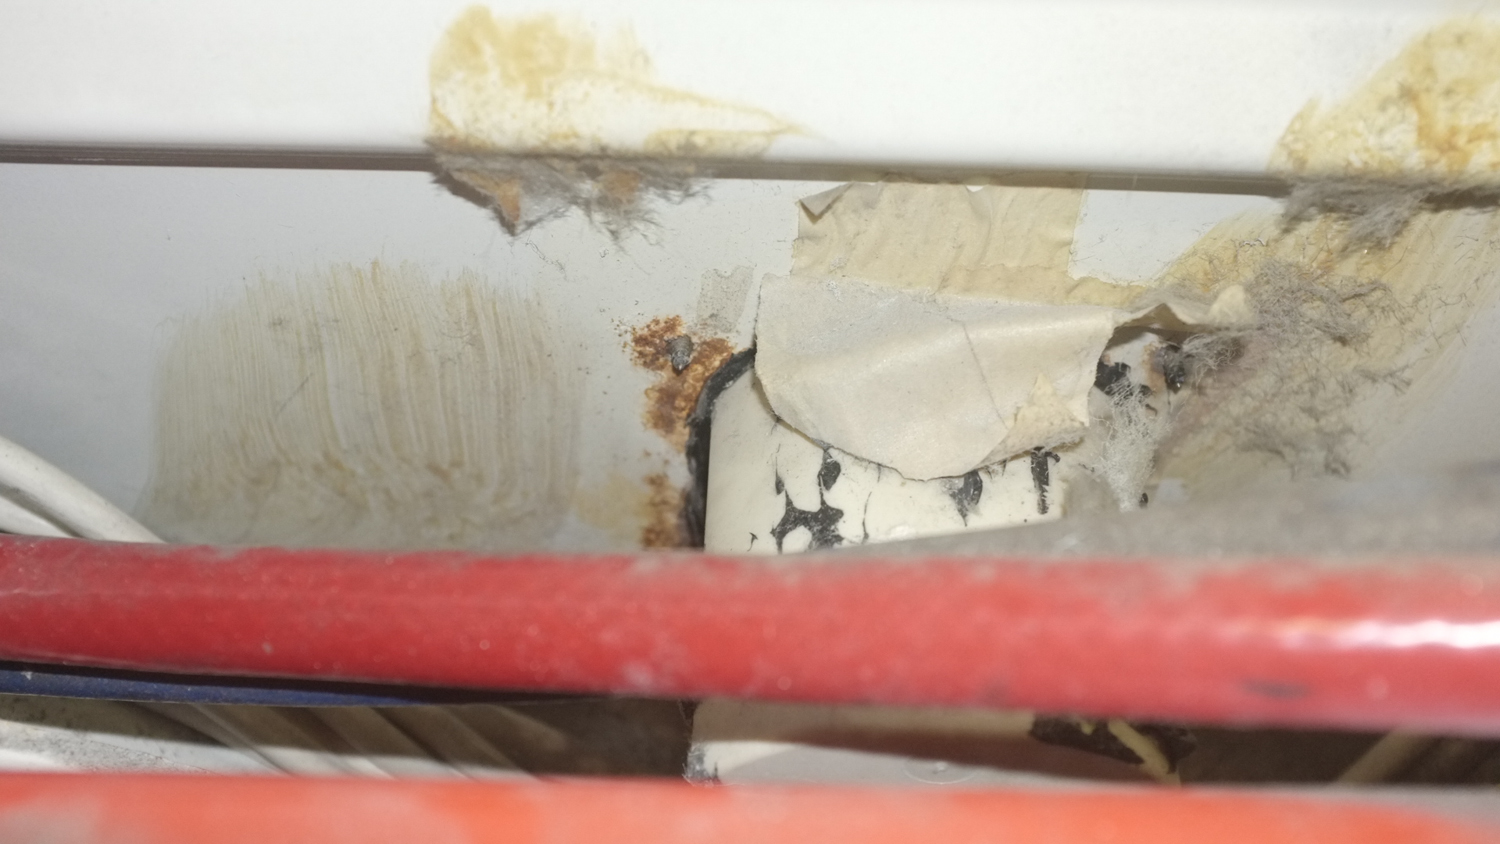
| Some rust around the mains hook up inlet that will need fixing |
Underneath the bed box are L brackets holding the box to the floor. I thought that that would be it, but the thing still wouldn't shift so I had to look some more. I eventually found some screws inside the cupboard (next to the bed) which screwed in a shelf holder and screwed into the bed.
Once these were out it was a case of giving the whole thing a good heave. A word of warning here though. The water pump is attached to the bed for some reason and the water pipe is attached to the ground. When I heaved the bed out it broke the water pump. Luckily it was just the filter which was still attached to the pipe and as the pipe was attached to the van it just ripped the end of the filter.
 |
| The broken water filter ..oops |
 |
| The L brackets that hold the cupboard in place |
The next job was to remove the cooker cupboard. Again, it was held down by some L brackets but loosening these didn't work so I had to hunt around for where else it was held together.
I found the culprits in the right hand corner as you look at the cooker. (see left) The L brackets were accessible once you remove the surround which is pretty straight forward.
Once these screws were removed I had to resist the urge to just hoik it out as I did with the bed. Lucky I did as I found that the copper gas pipe was attached to the base of the cupboard by a piece of plastic. Once I had cut this off I could pull the cupboard out and free.
 |
| The cooker cupboard and the bed have gone |
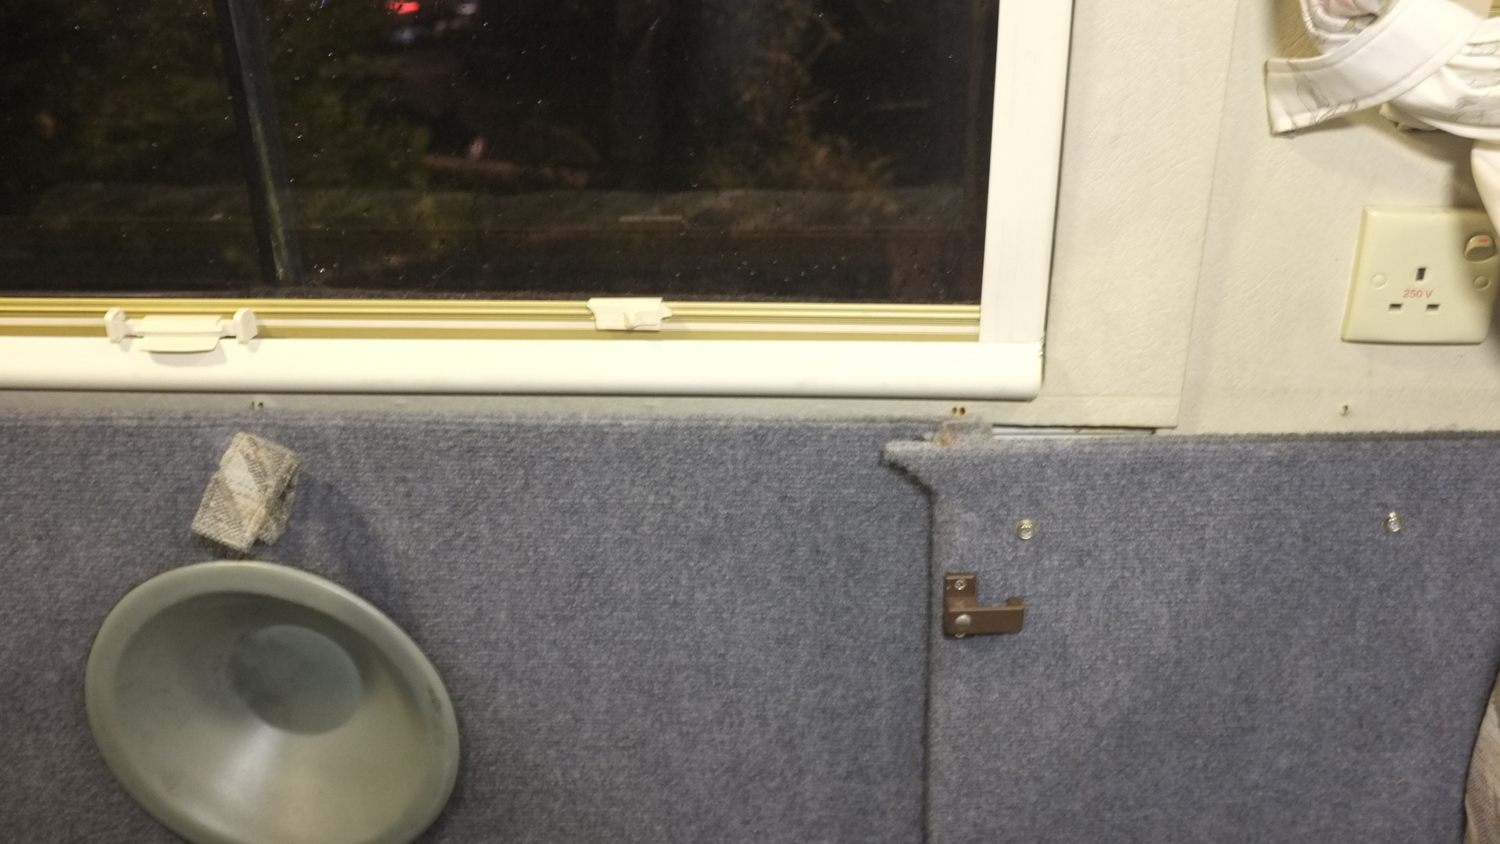
The floor around the Carver water heater is slightly rotten which I'm assuming means that there has been some water leakage over the years. This might account for some mould on a pillow that came out of the bed box. This should be easy enough to sort.
 |
| The view down the post to the rotten wing bottom. |
What I'm quite happy about at this stage is that I shouldn't need to remove too much of the electrical equipment from the floor to re-carpet. The Propex heater and water pump are out of the way and as the carver is out of the way under the bed box I might just cut around it rather than risk removing it.
 |
| The cuboards above the fridge and cooker are held in by screws which have rusted (located beneath the letter 'O') |
The material covering the panel on which the cupboard sits is fine and I can live with it. Besides which the cupboards are held in place by screws which have rusted. If I can't remove the headlining without removing the cupboards then I should be able to dremel these free.
 |
| The headlining. The black lines are dirt where the edge of the cupboard used to be |
Tomorrow I have a mobile welder coming over to look at the work that needs doing from the bump. I'm not sure whether to replace the entire section including the wheel arch or just fix the base of the wheel arch where I hit the wall and then grind out the rust from the wheel arch and fill. There isn't much wrong with the wheel arch and I want to keep as much of the VW metal as possible. Right that's it for the day. Before I go though can anyone advise how to disconnect the leisure battery. Do I need to disconnect both batteries give that the leisure battery is fed by the van battery?